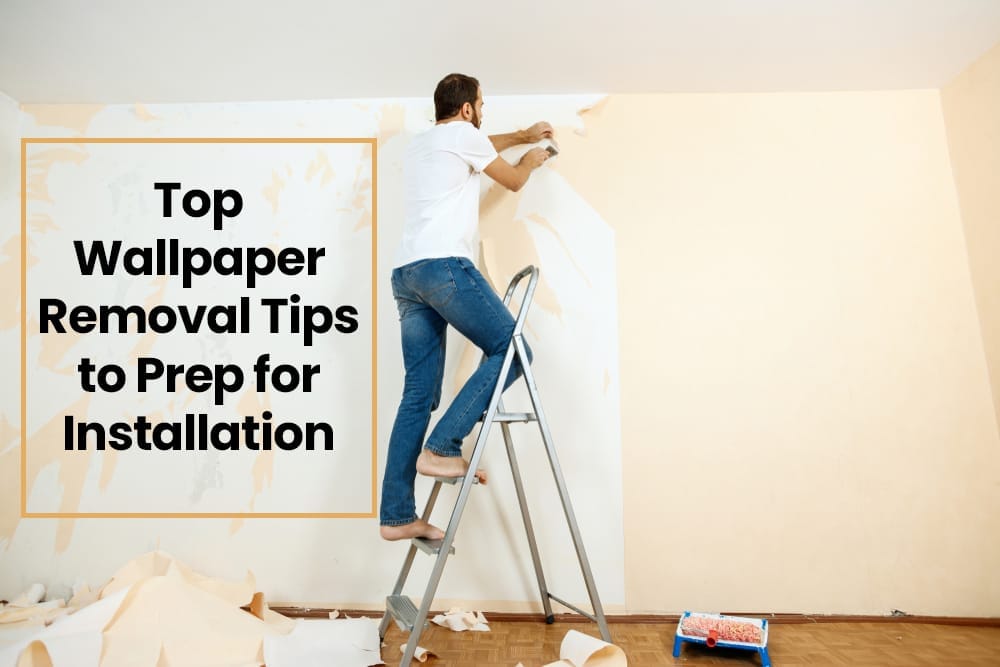
Top Wallpaper Removal Tips to Prep for Installation
Are you tired of staring at that outdated wallpaper in your home? Perhaps you’ve decided it’s time for a fresh start with a new, stylish wallpaper to transform your space. Before you can enjoy your new wallpaper, you need to tackle the task of removing the old one. Wallpaper removal may seem like a daunting task, but with the right tips and techniques, it can be a relatively painless process. We will guide you through the top wallpaper removal tips to prep for installation.
Understanding Your Wallpaper
Before you dive into the removal process, it’s crucial to understand the type of wallpaper you’re dealing with. There are two main types: traditional wallpaper and peel-and-stick wallpaper.
Traditional Wallpaper
Traditional wallpaper is applied with adhesive and requires a bit more effort to remove. It often consists of multiple layers and can be trickier to peel off.
Peel-and-Stick Wallpaper
Peel-and-stick wallpaper, on the other hand, is designed for easy installation and removal. It’s a popular choice for DIY enthusiasts because it can be peeled off without leaving residue.
Tools and Materials You’ll Need
To ensure a successful wallpaper removal process, gather the following tools and materials:
Wallpaper Scraper
A wallpaper scraper is an essential tool for removing wallpaper effectively. It helps you peel away the paper without damaging the wall underneath.
Wallpaper Remover Solution
Invest in a high-quality wallpaper remover solution to soften the adhesive and make the removal process smoother.
Drop Cloths
Cover your floors and furniture with drop cloths to protect them from any water or debris during the removal process.
Utility Knife
A utility knife will come in handy for cutting and scoring the wallpaper, making it easier to remove.
Step-by-Step Wallpaper Removal Guide
Now that you have your tools and materials ready, let’s dive into the step-by-step guide for wallpaper removal:
Step I: Prepare the Room
Start by removing any furniture or obstacles in the room. Cover the floors and nearby furniture with drop cloths to prevent damage.
Step II: Score the Wallpaper
Use a utility knife to score the wallpaper. Make vertical cuts about six inches apart to allow the wallpaper remover solution to penetrate.
Step III: Apply Wallpaper Remover Solution
Using a sponge or a spray bottle, apply the wallpaper remover solution generously over the scored areas. Allow it to sit for about 15 minutes to soften the adhesive.
Step IV: Begin Peeling
Starting at a corner or seam, gently peel away the wallpaper using a wallpaper scraper. Be patient and work slowly to avoid damaging the wall underneath.
Step V: Remove Residue
After removing the wallpaper, you may find some adhesive residue left on the wall. Use the wallpaper remover solution and a sponge to clean it off thoroughly.
Step Vi: Clean the Walls
Once all the residue is removed, clean the walls with water to ensure they are free from any leftover solution or debris.
Step Vii: Let the Walls Dry
Allow the walls to dry completely before proceeding with your new wallpaper installation.
Conclusion
Wallpaper removal may seem like a daunting task, but with the right tools and techniques, it can be a manageable DIY project. By following the step-by-step guide outlined in this article. You can prepare your walls for a fresh wallpaper installation that will transform your space.


Post Comment